What are Email Templates?
Email Templates are pre-designed email layouts and content that you can save in your TNZ account. They are perfect for recurring communications like newsletters, marketing campaigns, order confirmations, and official announcements.
By using templates, you can ensure a professional, consistent brand image while significantly speeding up your workflow.
Key benefits of using email templates:
-
Brand Consistency: Maintain a uniform look and feel across all your email communications.
-
Increased Efficiency: Save valuable time by avoiding the need to build frequent emails from scratch.
-
Professional Design: Create visually appealing HTML emails that capture your audience's attention.
-
Improved Deliverability: Use clean, simple Plain-Text templates for transactional messages to help bypass spam filters.
Creating Your Email Template
Follow these steps to create a new email template in the TNZ Dashboard.
Step 1: Navigate to Templates
-
Log in to the TNZ Dashboard.
-
From the main menu on the left, navigate to New Message, then Send Email, then Manage Templates.
-
Click the Create Template button, or use Import Sample to select from pre-made templates.
Step 2: Configure Your Template
You will now see the Email Template creation screen. Let's walk through each section.
Template Settings
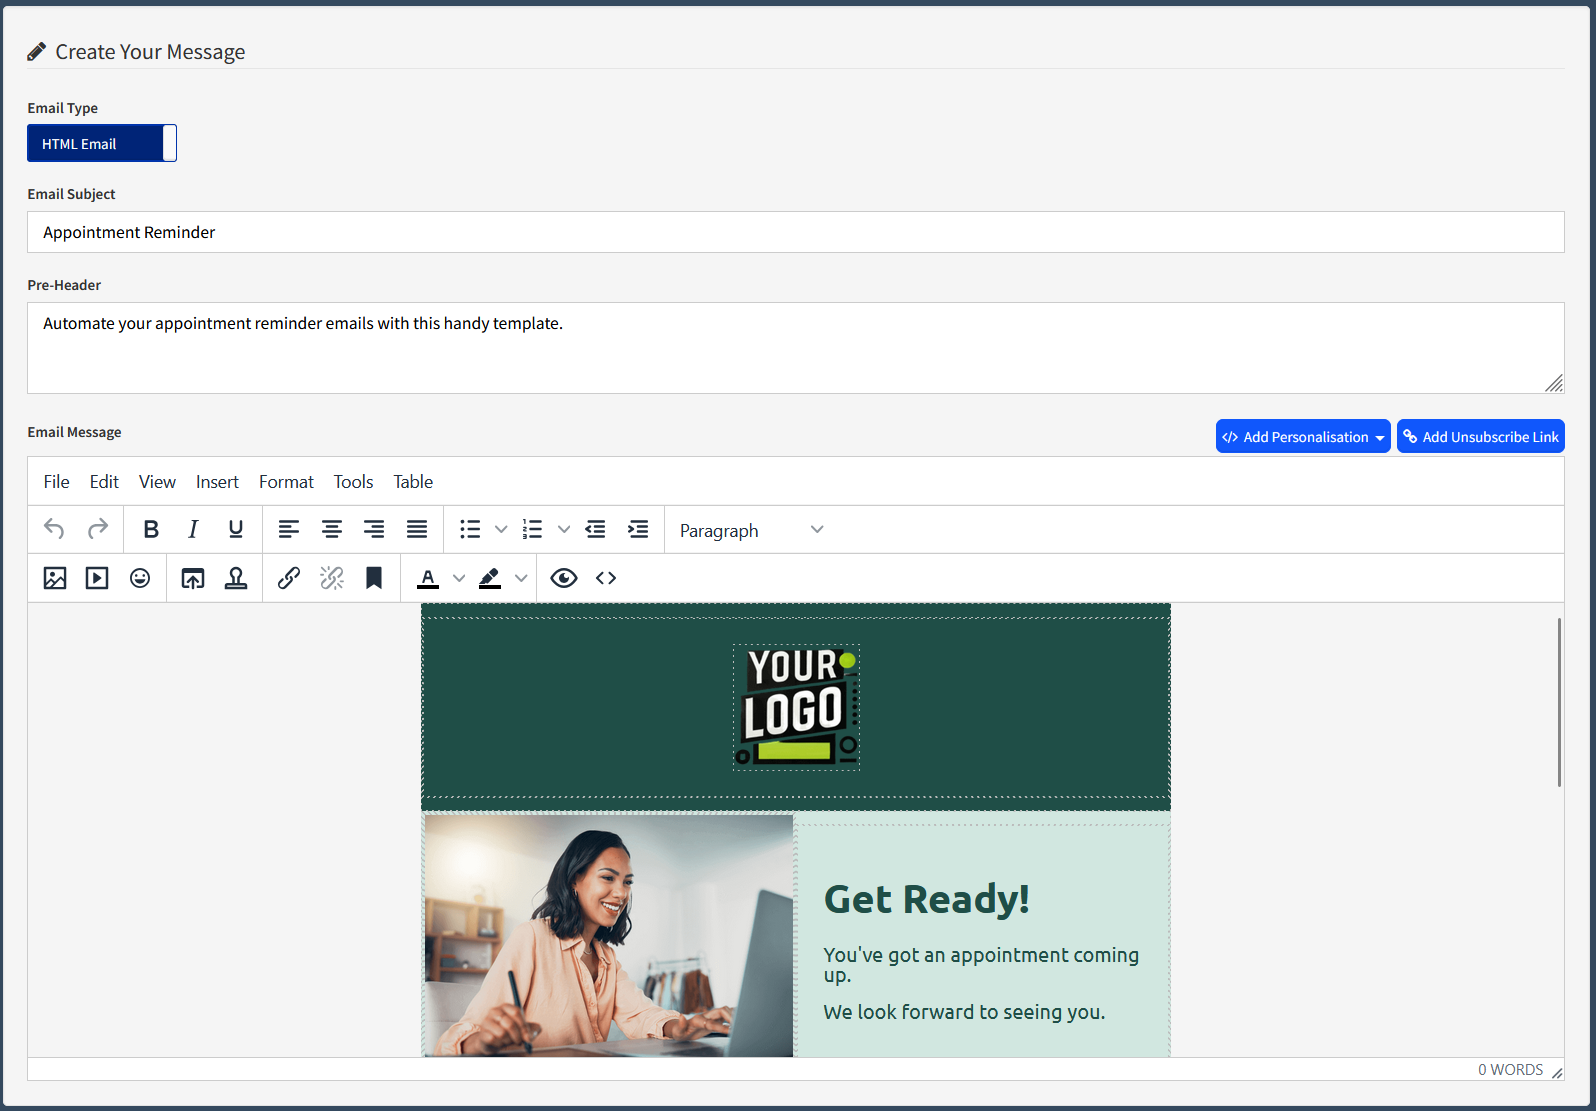
Create Your Message
This section contains the core components of your email.
-
Email Type: Choose between two formats:
-
HTML Email: This is the best option for visually rich emails. It allows you to include logos, images, colours, buttons, and custom layouts. HTML is ideal for marketing, promotions, and newsletters.
-
Plain-Text Email: This format contains only text, with no formatting or images. Plain-text emails are highly deliverable, load quickly, and are often preferred for transactional messages (like password resets) or for a more personal, one-to-one feel.
-
Email Subject: Write a compelling subject line for your email. This is the first thing your recipients see and is critical for your open rates.
-
Pre-Header: This is the short snippet of summary text that follows the subject line when an email is viewed in the inbox. Use it to provide a preview of your message and entice the recipient to open it. We recommend keeping it between 40 and 130 characters.
-
Email Message (Editor):
-
If you selected HTML Email, you will see a WYSIWYG (What You See Is What You Get) editor. Use the toolbar to format text (bold, italics, lists), insert images, add links, create tables, and more.
-
To use your own pre-built HTML code, click the source code icon (<>) in the editor's toolbar. You can paste HTML directly from another design tool (like Adobe InDesign) into this view.
-
If you selected Plain-Text Email, this will be a simple text box with no formatting options.
-
Personalisation & Unsubscribe:
-
Use the Add Personalisation button to insert merge fields (like [[FirstName]] or [[Custom1]]) that will be replaced with each recipient's details from your Address Book.
-
If your message is for marketing or promotional purposes, you must include two key elements:
-
Identifier: Clearly state who the message is from, e.g. 'From My Company Ltd'
-
Unsubscribe: Provide a clear way for recipients to unsubscribe. The Add Unsubscribe Link button inserts a simple link that automatically adds the contact to your TNZ Opt-Out List.
Attachments
Click Upload or drag and drop files into this area to include them as attachments. Any file added here will be sent with every email using this template.
Default Groups (Optional)
In this section, you can select one or more Address Book Groups to be automatically associated with this template. When you later select this template from the Send Email with Template screen in the Dashboard, these groups will be pre-loaded as recipients.
Note: This setting only applies when sending messages directly from the TNZ Dashboard. It does not apply to messages sent via our API or through third-party integrations like Zapier or HubSpot.
Ownership & Accessibility
These settings allow you to control who within your organisation can view and edit the template. This is useful for managing templates across different teams, departments, or sub-accounts.
Using Your Template in the Dashboard
To use your saved template for a new broadcast:
-
Navigate to New Message -> Send Email, then select Send Email with Template.
-
Select your Template and adjust your message and contacts appropriately.
- Send your message!
Using Your Template in the API
Once you have saved your template, your new template will now appear in the list on the main Templates page.
If you click on your template, you will see the Template ID, which is a unique number assigned to your template.
This TemplateID is essential if you wish to trigger messages using this template via the TNZ API or a third-party application.